
Does my bike have eyelets? Can I put a rack on my bike’s eyelets? Are they only for fenders? Do I need eyelets to put a rack on my bike?
In this post we will try to explain what bike eyelets are, what type of eyelets there are, and some general guides to identify what the eyelets on your bike are made for. We will also talk about you can mount a rack to your bicycle if your bicycle does not have any eyelets.
<< BACK TO MAIN LIST OF BLOG POSTS or keep reading
First, what is an eyelet?
Eyelets are threaded mounting points for racks, fenders, and other accessories on a bike. The most common ones are also know as water bottle bosses, the threaded holes that you can attach a water bottle cage to. The eyelets that we will be focusing on now are for racks and fenders.
Rack mounting eyelets along with fender mounting eyelets consist of upper and lower eyelets at each end of the bike. We will just talk about rear eyelets first.
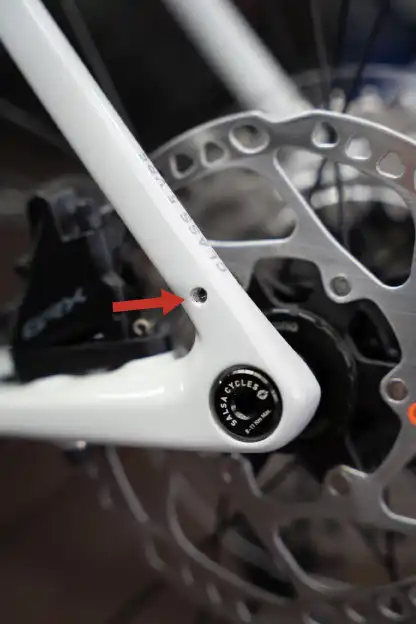
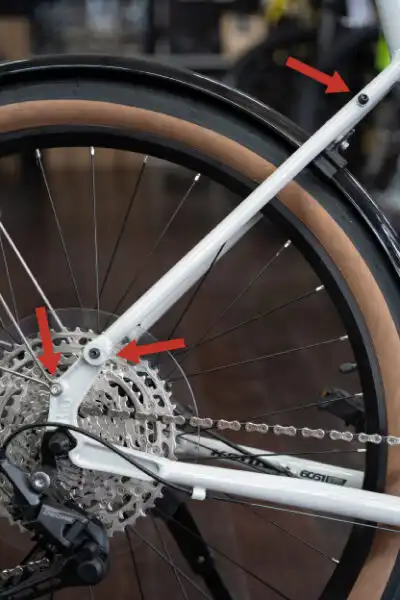
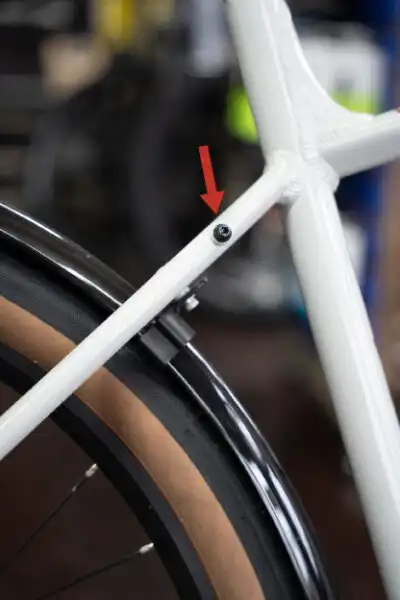
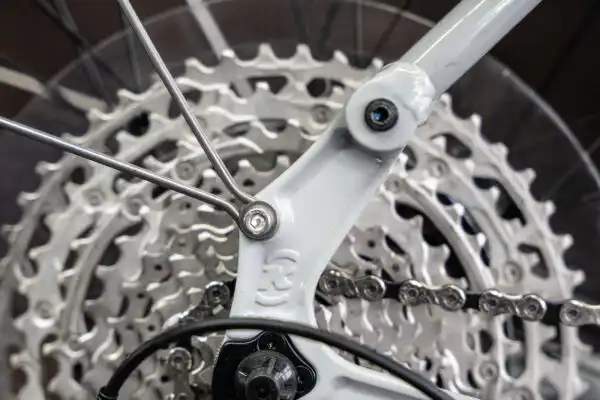
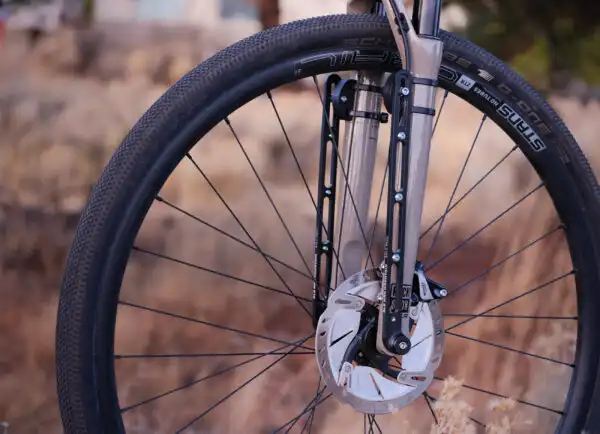
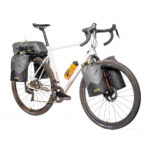
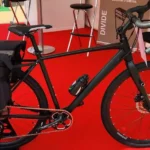
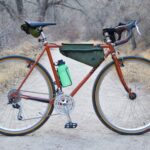
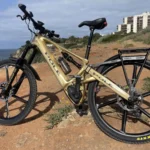
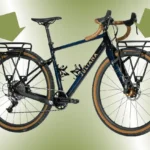
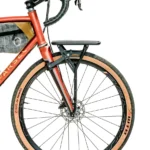
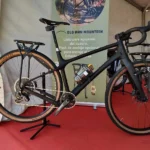
Your first question is probably; does my bike have eyelets? Well, take a look at the photos above where we have circled and added arrows pointing out the eyelets.
If your bike is NOT a race oriented bike then your bike probably has eyelets, and even if it is race oriented chances are good you still have eyelets. The more important and challenging question to answer is are the eyelets on my bike made for mounting racks?
To answer this question we will need to take a closer look and compare your bike’s eyelets to the photos below.

Steel Bikes:
Bikes with steel frames and forks are the most likely to have eyelets made for racks. Many times they will have two sets of eyelets near the dropout. If your bike has two sets you can be confident that the top one is for mounting a rack and the bottom one is for mounting fenders.

Aluminium Bikes:
Similar to steel bikes, the eyelets are most likely made for racks and many times they will have two sets of eyelets near the dropout. If your bike has two sets you can be confident that the top one is for mounting a rack and the bottom one is for mounting fenders.
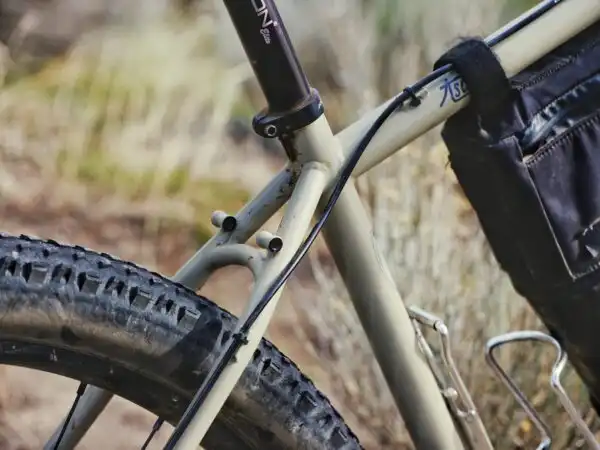
If your bike only has one eyelet near the dropout you’ll want to look farther up the seat stays, near the rim and tire. If there are eyelets on the seat stays as well you are good to mount a rack as those are there for the rack’s extenders.
If there is only one eyelet near the tire and it is on the brake bridge, it is made for fenders and your other eyelets are probably only for fenders too.

Carbon Bikes:
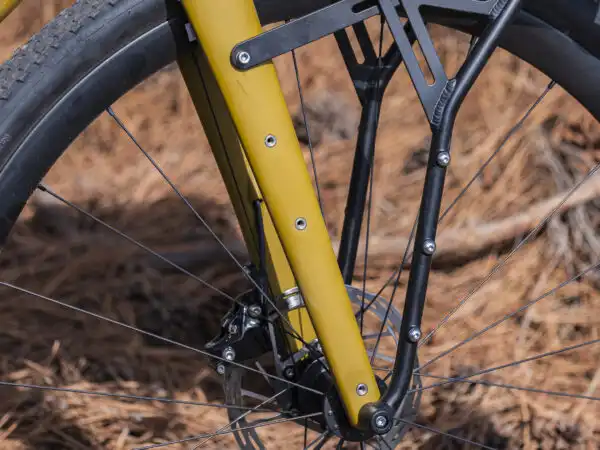
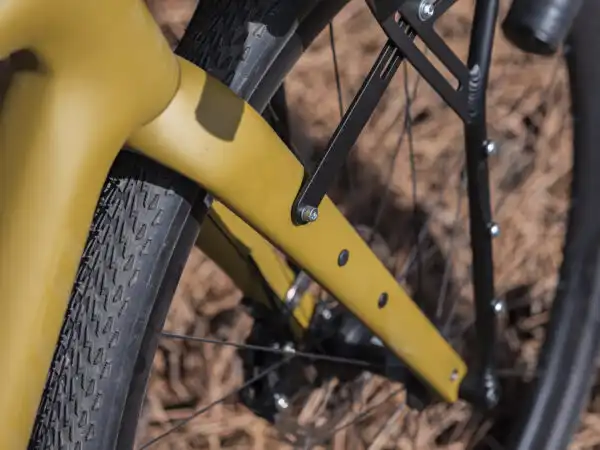
If your bike has two sets of eyelets near the dropouts you can be confident that the top one is for mounting a rack and the bottom one is for mounting fenders.
If your bike only has one eyelet near the dropout you’ll want to look farther up the seat stays, near the rim and tire. If there are eyelets on the seat stays as well you are good to mount a rack as those are there for the rack’s extenders.
If there is only one eyelet near the tire and it is on the brake bridge, it is made for fenders and your other eyelets are probably only for fenders too.
Titanium Bikes:
Titanium bikes follow the same rules as steel and Aluminum bikes; If your bike has two sets of eyelets near the dropouts you can be confident that the top one is for mounting a rack and the bottom one is for mounting fenders.
If your bike only has one eyelet near the dropout you’ll want to look farther up the seat stays, near the rim and tire. If there are eyelets on the seat stays as well you are good to mount a rack as those are there for the rack’s extenders.
If there is only one eyelet near the tire and it is on the brake bridge, it is made for fenders and your other eyelets are probably only for fenders too.
So, if your bike does have eyelets that are made for racks, how confidently can you use them? Not all eyelets are created equal.
If you are carrying 9 kgs or less on your rack, you should not worry about it. Your eyelets should be plenty strong. But if you are carrying more, or riding a lot of miles like daily commuting or a world tour, or even riding over rough terrain like in bikepacking, the type of eyelet begins to matter.
There are five main types of eyelets. The ones that are built into a solid metal part of the frame, brazed on eyelets, welded on eyelets, bonded in eyelets, and rivnuts.
Part of The Frame:
Most common on steel and aluminum bikes, these eyelets will be drilled and tapped into the dropout. They are not a separate piece of metal that is attached to the bike making them the strongest and best supported eyelets.
If you have this style you can be very confident in their strength.
Brazed on Eyelets:
These eyelets are a separate piece of metal that has been brazed to the tube dropout of your bike. They can be attached to the outside of the frame or placed into a hole and brazed in place.
Brazing is a very strong connection when done properly and should inspire confidence in the eyelet. The reason that it is not as strong as built in eyelets is because the connection is smaller and we do see them break more often than built in eyelet strips, even if still rare.

Welded on Eyelets:
These eyelets are a separate piece of metal that has been welded instead of brazed. They can be attached to the outside of the frame or placed into a hole and welded in place. You will be able to know it is welded if it looks like tiny stacked disks attaching it to the frame.
Welding is a very strong connection, when done properly, and should inspire confidence in the eyelet.
Bonded on Eyelets:
These eyelets are the biggest wild card. Bonded in eyelets are a threaded insert epoxied into place on carbon frames and forks. Because of the construction possibilities it can be hard to know if they are fully supported in a block of carbon or are bonded into the wall of a carbon tube.
It is best to consult with the bike’s manufacturer and consider what the bike was built for. If it is a touring, bikepacking, or commuting, bike you can be more confident in the carbon eyelets. If it is a lightweight racing bike, they are less likely to be reinforced and axle mounting will be a better option.
Rivnuts:
Rivnuts can be used in all bike materials and as the name implies are riveted in place nuts. Rivnuts are very common for water bottle bosses and upper seatstay eyelets. The difference between rivnuts and a welded or brazed in eyelet is that they clamp themselves in place compared to the bond of being welded or brazed in place.
It is not uncommon for rivnuts to loosen over time which can cause them to stay in place but rattle or spin. They should be kept to lightweight loads.
What do I do if my bike doesn’t have rack eyelets?
No problem at all! That is why Old Man Mountain was born back in 1996. We have a full lineup of Thru-Axle and QR Fit Kits to fit nearly any bike. In these fit kits there is a thru-axle that replaces your existing thru axle and have short studs on the end to support the rack and carry nearly all of the weight through the axle instead of your bike’s frame.
Another alternative for the front is the Axle Pack
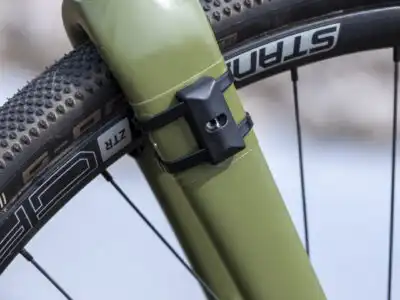
Another alternative to using eyelets, and racks, would be one of our newer products: The Axle Pack. It is unlike any other fork adapter you have seen and can be used on all forks that utilize a thru-axle. With 3-pack mounts on the uprights you can carry bottles, fuel, stuff sacks, dry bags, bolt-on bags, and more.
Made from 6061 aluminum, Axle Pack is lightweight, stiff, and strong. It securely mounts to our axle studs and cannot slide down or rotate around the fork legs. Which means it can carry a lot more than a fork that has 3-pack mounts!
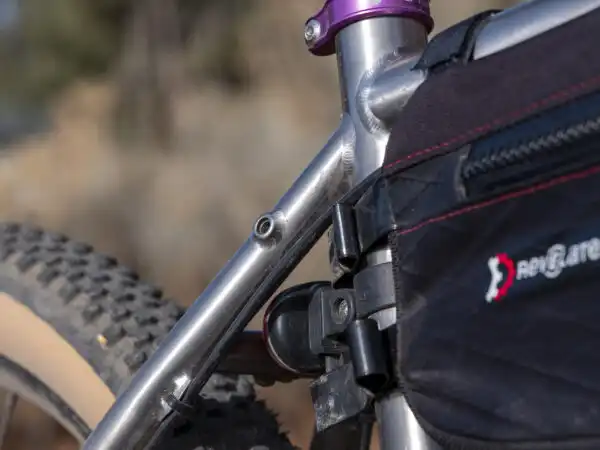
What about the upper eyelets for the extenders?
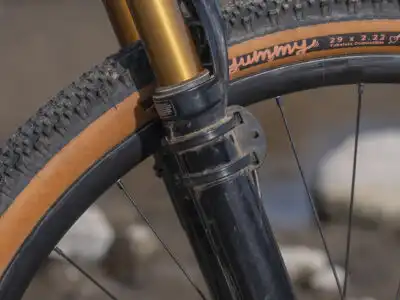
We have taken care of that too! We make mounting pucks that are zip-tied to your fork or seatstays using Panduit’s super strong and UV stable zip ties. Our puck mounting is actually stronger than most bikes eyelets.
From time to time we have a client that wants to use an eyelet that was made for fenders, so we hope this post can help you figure out what type of eyelets you have on your bicycle. Because eyelets that are made for fenders, are not as strong, so it is not a good place to mount a rack. In that case, to axle mount the rack with one of our fit kits is absolutely the best option.
Happy Trails!!
MORE BLOG POSTS
- Bike Winter Maintenance
- Porte-bagages pour bikepacking
- Porte-bagages avant lowrider vs traditionnel, quel est le meilleur choix pour le bikepacking ?

- New Impala Lowrider rack

- The Old Man Mountain Experimental Bikepacking Team is Here!
- Introducing Three New Bikepacking Essentials!

- Presentazione di tre nuovi elementi essenziali per il bikepacking!
- Trois Nouveaux produits essentiels por le Bikepacking
- Qu’est-ce qu’un œillet ?

- What are eyelets?
- New Axle Pack for Any Fork
- A Basket, by Old Man Mountain

- Light Mounts by Old Man Mountain
- If You Didn’t Visit Us at the Bikeshow
- New Widefoot LiterCage
- A New Web

- Pole Voima
- Multitude of combinations available
- Loam & Gravel Society by Old Man Mountain

- The Elkhorn Packaging
- Elkhorn rack live presentation
- We present the Widefoot CargoMount Classic
- How to install the Old Man Mountain Divide rack

- Wintertime Riding with Snow in Sweden
- The new Old Man Mountain Divide rack

- Divide, nouveau porte-bagage de Old Man Mountain

- Carradice, traditional bagmaker since 1929
- Carradice traditionell väskmakare sedan 1932
- The Bagman QR Support for saddlebags

- Felt DD Fatbike with a custom colored Sherpa Phat rack
